Red Velvet Cake With Buttermilk

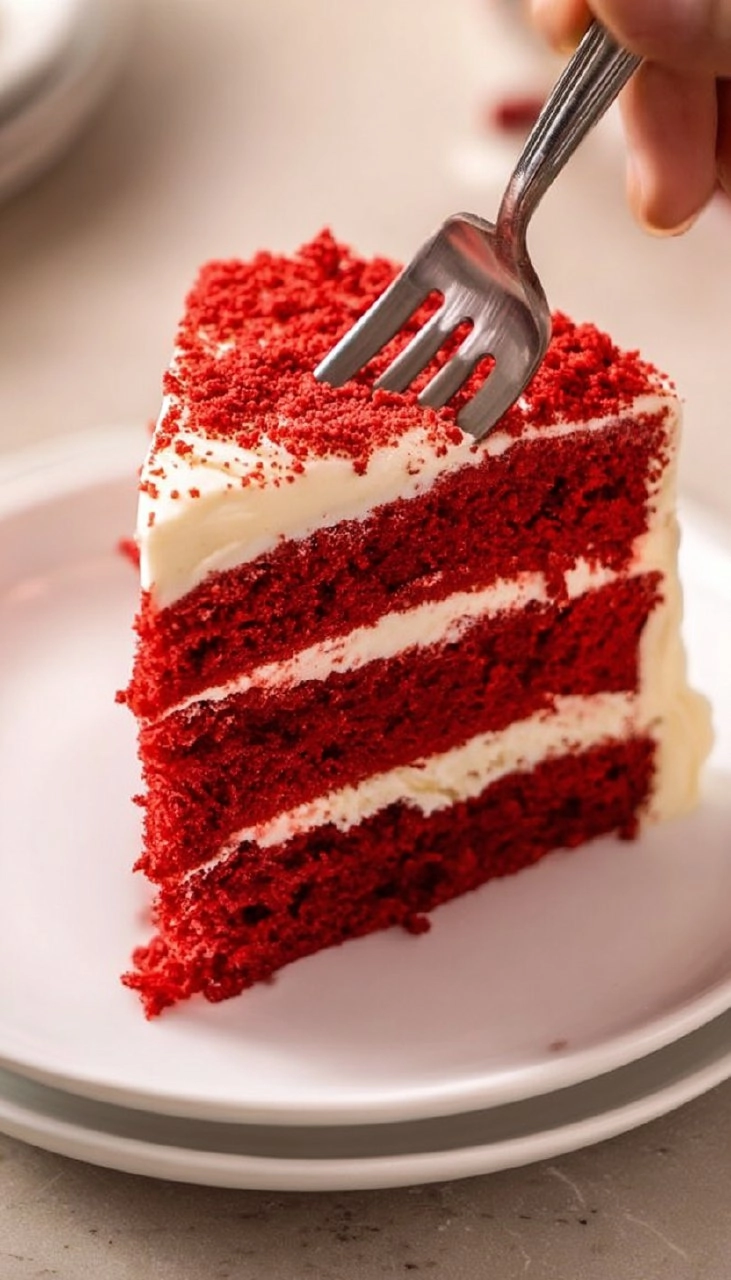
Old-fashioned red velvet cake is a showstopper dessert that perfectly captures the essence of Southern baking traditions. Its striking red color contrasts beautifully with the luscious cream cheese frosting, creating a visual masterpiece that’s hard to resist. This cake isn’t just a pretty face; it’s equally delightful in taste, combining the richness of buttermilk with a hint of cocoa for an unforgettable flavor experience. Whether you’re celebrating a special occasion or simply indulging in a sweet craving, this red velvet cake will not disappoint.
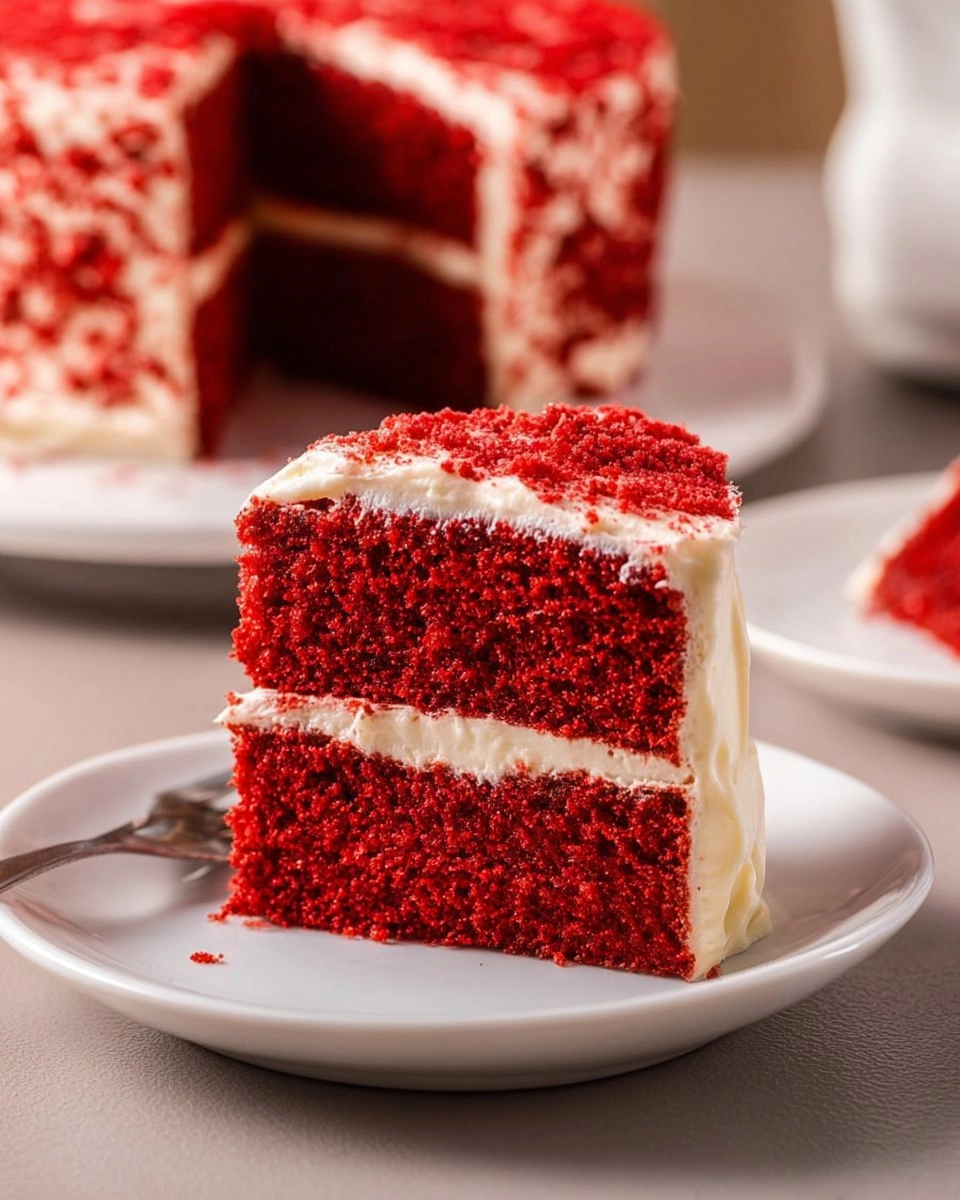
I first discovered my love for red velvet cake at a family gathering where Aunt Clara brought out her secret recipe. With its moist texture and velvety crumb, each slice brought joy and nostalgia. As I started my own baking journey, experimenting with this classic recipe, I found that including buttermilk elevates the flavor and texture to new heights. This old-fashioned red velvet cake with buttermilk is not only simple to prepare but also a definite crowd-pleaser that can turn an ordinary day into something extraordinary. I can’t wait for you to try it!
Table of Contents
Why You’ll Love This Recipe
- Simple & Quick: Ready in just over an hour, perfect for a last-minute dessert treat.
- Irresistible Flavor: Moist and rich with a subtle cocoa flavor, each bite is a delicious compliment to the cream cheese frosting.
- Eye-Catching Appeal: The vibrant red color makes it a stunning centerpiece for any gathering.
- Flexible Serving: Ideal for birthdays, holidays, or simply as a comforting snack with coffee.
- Diet-Friendly Options: Easily adaptable for dietary needs with gluten-free cake flour or dairy-free alternatives.
Ingredients You’ll Need
- ½ cup butter (1 stick), softened – Adds richness and flavor to the cake. Make sure it’s at room temperature for proper creaming.
- 1 cup vegetable oil – Ensures the cake remains moist and extends its shelf life. Can substitute with canola oil if needed.
- 1 cup buttermilk – Provides a tender crumb and balances the sweetness. You can make a quick substitute with regular milk and a splash of vinegar.
- 1 ½ cup granulated sugar – Sweetens the cake while contributing to its structure.
- 2 eggs plus 1 extra egg yolk – Adds moisture and richness, essential for a decadent texture.
- 2 teaspoons vanilla extract – Infuses the cake with warmth and depth of flavor.
- 1 teaspoon white vinegar – Reacts with baking soda to create a lighter texture in the cake.
- 2 ½ teaspoons red food dye – Provides that signature red hue. Use gel dye for a more vibrant color.
- 2 ⅔ cup cake flour – Offers a light and airy texture; avoid all-purpose flour to keep the cake tender.
- 2 tablespoons cocoa powder – Adds a subtle chocolate note without overpowering the red velvet flavor.
- 1 teaspoon baking soda – Helps the cake rise and achieve a fluffy texture.
- 1 pinch salt – Enhances the overall flavors in the cake.
- 16 ounces cream cheese, softened – Essential for making a creamy and tangy frosting that pairs perfectly with the cake.
- 1 cup butter, softened (2 sticks) – Adds rich flavor to the frosting. Ensure it’s room temperature for easy mixing.
- 1 ½ teaspoons vanilla extract – Adds depth to the frosting, making it more delicious.
- 1 pinch salt – Balances the sweetness of the frosting.
- 4 cups powdered sugar – Sweetens and thickens the frosting to perfect spreadability.
How to Make Red Velvet Cake With Buttermilk
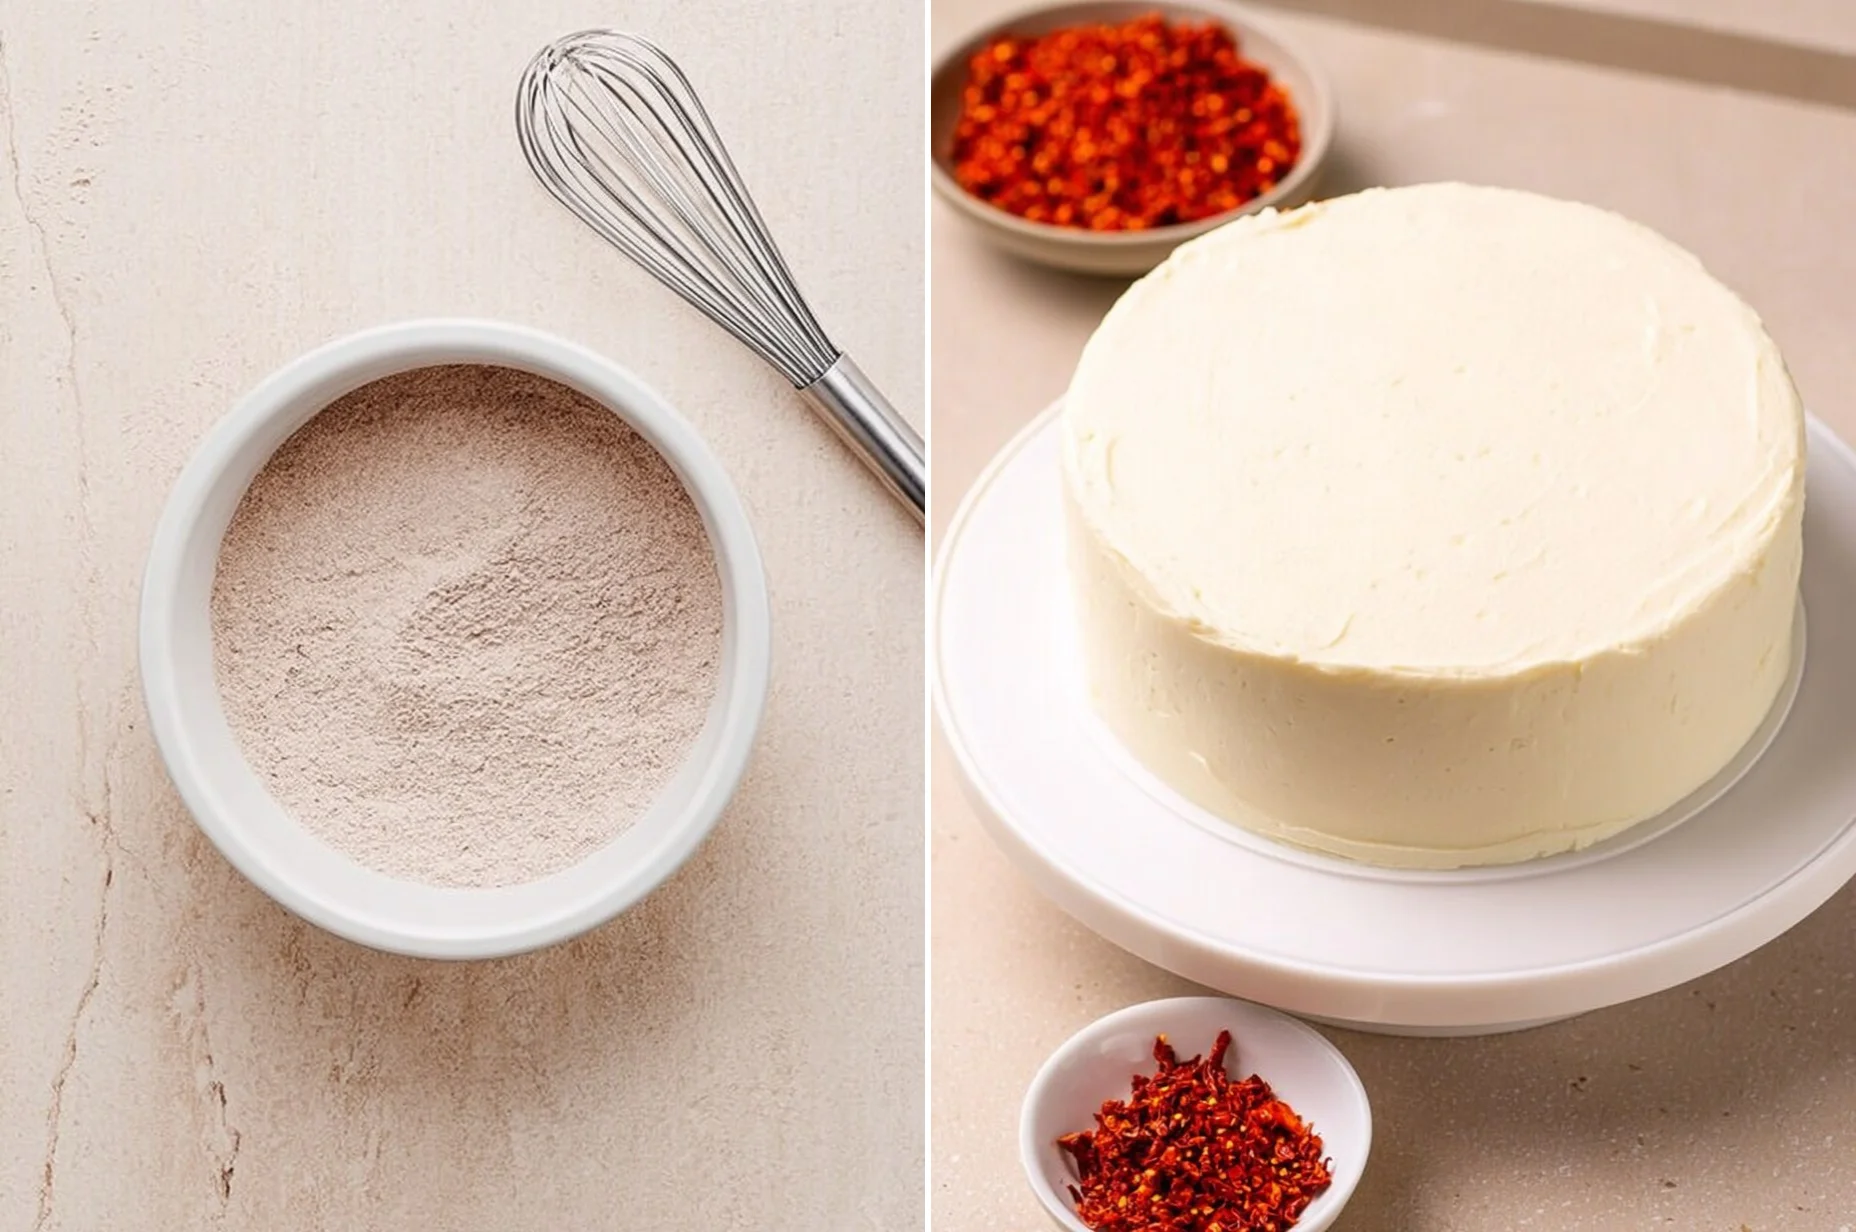
Preheat the Oven: Set your oven to 350°F (175°C). Line three 9-inch round cake pans with parchment paper, then spray them with nonstick cooking spray and dust lightly with cocoa powder to prevent sticking.
Cream the Butter and Sugar: In a large mixing bowl, cream together ½ cup butter and 1 ½ cup granulated sugar until the mixture is light and fluffy, which typically takes about 3-4 minutes. This step is crucial for incorporating air into your batter, contributing to a lighter cake.
Add the Eggs: Beat in 2 eggs plus 1 extra egg yolk, one at a time, ensuring each egg is fully incorporated before adding the next. This ensures an even batter.
Mix in the Wet Ingredients: Stir in 1 cup vegetable oil, 1 teaspoon white vinegar, 1 cup buttermilk, 2 teaspoons vanilla extract, and 2 ½ teaspoons red food dye until the mixture is smooth and well combined.
Combine Dry Ingredients: Gradually add 2 ⅔ cup cake flour, 2 tablespoons cocoa powder, 1 teaspoon baking soda, and 1 pinch salt, folding gently just until combined. It’s essential not to overmix to retain the cake’s delicate texture.
Distribute the Batter: Divide the batter evenly between the prepared pans, making sure to spread it out gently with a spatula.
Bake the Layers: Bake the cakes for 20-25 minutes or until a toothpick inserted into the center comes out clean. The edges should be lightly golden, and the cakes should spring back when gently pressed.
Cool the Layers: Let the cakes rest for 5-10 minutes in the pans. Then, turn them out onto a cooling rack to cool completely. Cooling is key to prevent melting the frosting when you layer the cake.
Prepare the Cream Cheese Frosting: In a large bowl, beat together 16 ounces softened cream cheese, 1 cup softened butter, 1 pinch salt, and 1 ½ teaspoons vanilla extract until fluffy. Gradually add 4 cups powdered sugar, mixing until smooth and creamy.
Level the Cakes: Use a cake leveler to trim the domes off the cake layers for even stacking. Crumble any reserved cake scraps into a bowl for garnishing later.
Assemble the Cake: Spread a layer of cream cheese frosting on top of the first cake layer, then add the second layer and repeat. Crumb coat the top and sides lightly and place the cake in the fridge for 15-20 minutes to set.
Final Frosting Touches: Frost the top and sides of the cake with an additional generous layer of frosting. For a decorative touch, press the reserved cake crumbs into the sides and top of the cake.
Storing & Reheating
Store any leftover red velvet cake covered at room temperature for up to 3 days. For longer freshness, refrigerate it in an airtight container for up to a week. You can also freeze the cake for up to 3 months; ensure it’s wrapped tightly in plastic wrap and aluminum foil before freezing. To enjoy, thaw in the fridge overnight and serve at room temperature. Note that while freezing, the texture may slightly change, but a quick re-whip of the frosting can help refresh its creamy consistency.
Chef’s Helpful Tips
- Avoid Overmixing: Overmixing can cause the cake to be dense instead of light and fluffy. Mix just until combined.
- Use Room Temperature Ingredients: Ensure butter and eggs are at room temperature to create a smooth batter without lumps.
- Check Doneness Early: Ovens can vary, so check your cake layers a few minutes before the recommended baking time.
- Experiment with Colors: If you want a twist, try using natural food coloring instead of traditional dye for a different shade.
- Creme Cheese Frosting Variations: Add a touch of lemon juice to the frosting for an extra zing in flavor.
There’s something nostalgic about red velvet cake that beckons memories of family gatherings and celebrations, and this recipe embraces that spirit beautifully. With its delightful crumb and rich flavor, each slice tells a story of connection and sweet moments shared. Don’t hesitate to make it your own—feel free to experiment with flavors, decorations, and even the density of the frosting. Whether you’re serving it at a dinner party or treating yourself after a long day, this red velvet cake with buttermilk is sure to become a cherished favorite in your kitchen. May each bite bring joy and warmth!
Recipe FAQs
How should I store my red velvet cake?
Can I substitute buttermilk in this recipe?
Why does my cake not have the desired red color?
Can I make this cake ahead of time?
More Desserts & Appetizers Recipes
👉 If you make my Red Velvet Cake With Buttermilk recipe, please leave a comment and a star rating — it really helps others discover the recipe.
Follow me on
Pinterest
for more easy recipes.
Red Velvet Cake With Buttermilk
- Prep Time: 25 minutes
- Cook Time: 45 minutes
- Total Time: 1 hour 10 minutes
- Yield: 12 servings 1x
- Category: Desserts
- Method: Baking
- Cuisine: American
Description
This Red Velvet Cake With Buttermilk stands out with its moist texture and vibrant color. It’s made with simple ingredients and easy steps, making it perfect for any occasion.
Ingredients
- ½ cup butter (1 stick), softened
- 1 cup vegetable oil
- 1 cup buttermilk
- 1 ½ cup granulated sugar
- 2 eggs plus 1 extra egg yolk
- 2 teaspoons vanilla extract
- 1 teaspoon white vinegar
- 2 ½ teaspoons red food dye
- 2 ⅔ cup cake flour
- 2 tablespoons cocoa powder
- 1 teaspoon baking soda
- 1 pinch salt
- 16 ounces cream cheese softened
- 1 cup butter softened (2 sticks)
- 1 ½ teaspoons vanilla extract
- 1 pinch salt
- 4 cups powdered sugar
Instructions
- Preheat the oven to 350°F. Line cake pans with parchment paper, spray with nonstick cooking spray, and dust with cocoa powder.
- In a large bowl, cream the softened butter and granulated sugar until light and fluffy. Add the eggs one at a time, mixing well after each addition.
- Stir in the vegetable oil, vinegar, buttermilk, vanilla extract, and red food coloring until the mixture is smooth.
- Gradually add the cake flour, mixing gently until just combined. Be careful not to overmix the batter.
- Divide the batter evenly among three prepared cake pans. Bake for 20-25 minutes or until a toothpick inserted in the center comes out clean.
- Allow the cakes to rest for 5-10 minutes in the pans before transferring them to a cooling rack to cool completely.
Notes
Ensure all ingredients are at room temperature for the best results.
Use high-quality cocoa powder for a richer chocolate flavor in the cake.
Store the cake in the refrigerator if not serving immediately to keep it fresh.
Nutrition
- Serving Size: 1 slice
- Calories: 450
- Sugar: 30g
- Sodium: 320mg
- Fat: 25g
- Saturated Fat: 12g
- Unsaturated Fat: 5g
- Trans Fat: 0g
- Carbohydrates: 50g
- Fiber: 1g
- Protein: 6g
- Cholesterol: 90mg