Canned Chickpeas

The aroma of sautéed garlic wafts through the air, dancing with the enticing nutty scent of chickpeas. The golden, juicy beans glisten in the pan, offering a warm invitation to dive in. Just imagining the creamy texture and subtle warmth brings back sunny afternoons spent in my grandmother’s kitchen, where simple ingredients transformed into something extraordinary. Her love for cooking turned ordinary moments into festive memories over bowls of flavored chickpeas, and today, I’m excited to share this canned chickpeas recipe that captures that very spirit.
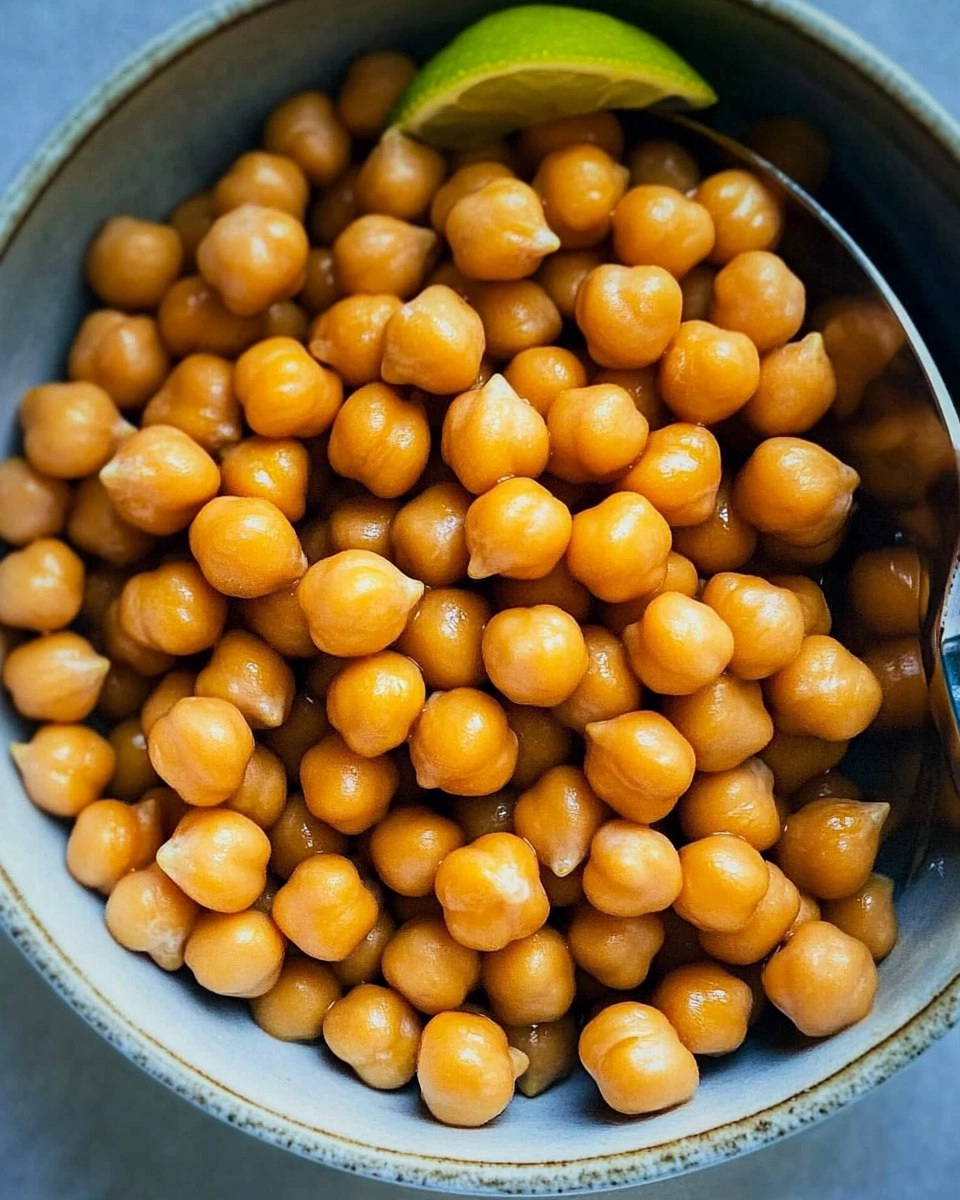
As we navigate the cooler months, embracing hearty flavors becomes a delightful necessity. Whether you’re prepping for a cozy game night or whipping up a quick snack after a long day, these canned chickpeas will undoubtedly become your new go-to. Prepare for a quick kitchen adventure that’s irresistibly tasty and simplifies your mealtime. Ready to get started? Let’s savor the magic of canned chickpeas together!
Table of Contents
Why You’ll Love This Recipe
- Simple & Quick: Whip this up in about 7 minutes, perfect for busy days.
- Irresistible Flavor: Enjoy a delightful mixture of garlicky goodness and warm spices.
- Eye-Catching Appeal: The golden color and aroma make for an impressive dish.
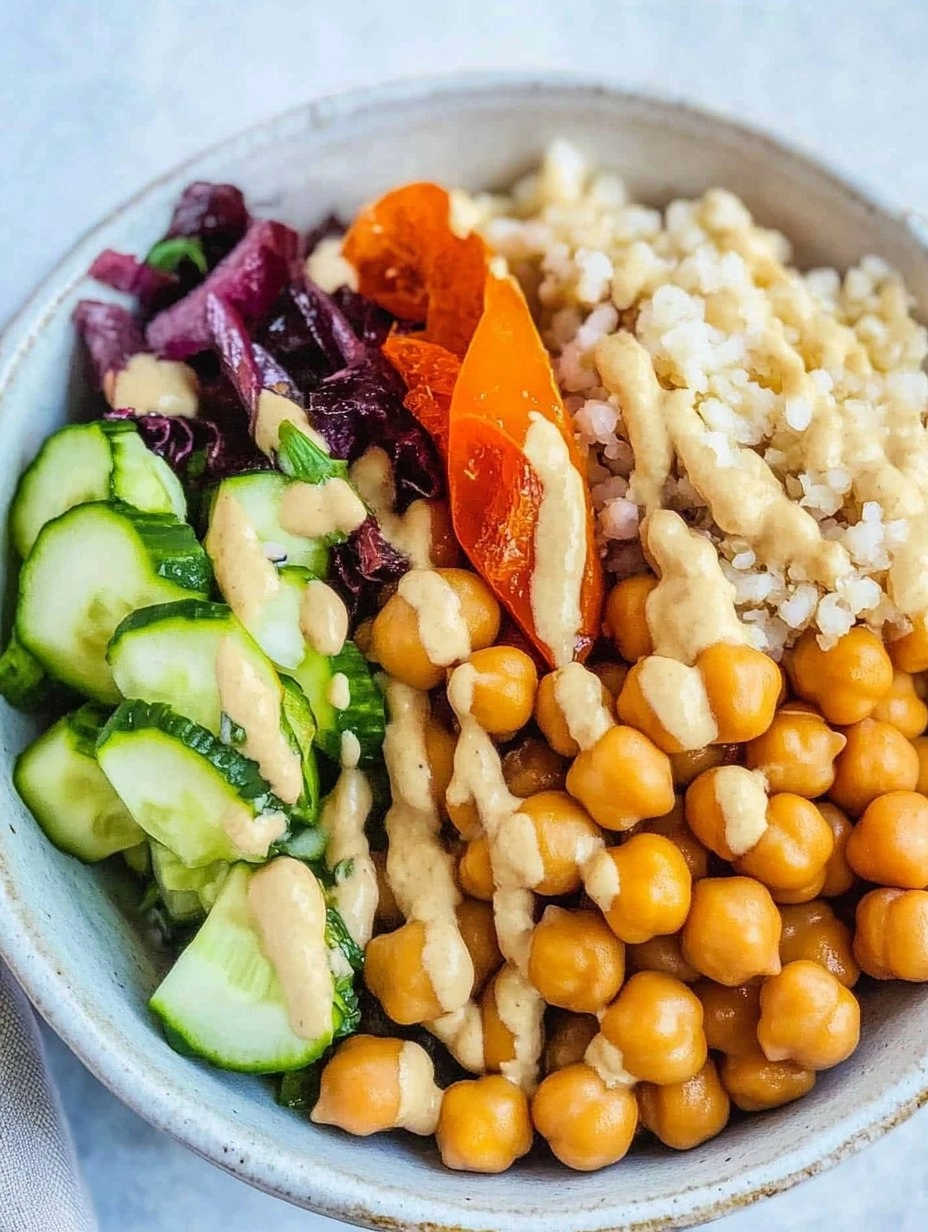
- Flexible Serving: Great as a snack, side, or tossed into salads.
- Diet-Friendly Options: Naturally vegan and gluten-free, fits multiple diets with ease.
Ingredients You’ll Need
- 15-ounce can chickpeas: The star of this dish, packed with protein and fiber. Ensure you choose a can without added preservatives for the best flavor.
- 1 garlic clove: Minced for that aromatic base. Fresh garlic is always best, but garlic powder can substitute in a pinch.
- 1 tablespoon olive oil: Adds a rich taste and helps sauté the garlic. Feel free to swap with avocado oil if you prefer.
- 1/4 teaspoon smoked paprika or regular paprika: Adds depth and gentle heat to the chickpeas. Smoked paprika will give a nice smokiness, but regular works just as well.
- 1/2 teaspoon kosher salt: Enhances the flavors of the dish; you can adjust this based on your preference.
- 1 lemon wedge (optional): A squeeze of lemon juice brings brightness and zest, elevating the dish.
How to Make Canned Chickpeas
Drain and Rinse: Begin by draining and rinsing the canned chickpeas in a colander. Rinsing helps remove excess sodium and improves flavor. Let them sit for a moment to ensure they’re well-drained.
Mince the Garlic: With a sharp knife, finely mince the garlic clove. This will release its aromatic oils, ensuring a fragrant base for our dish. Take your time here, as even little pieces can pack a punch in flavor.
Heat the Oil & Sauté: In a large skillet, heat the olive oil over medium heat until it shimmers. Add the minced garlic and sauté immediately, stirring constantly for about one minute. You want it fragrant but not browned—just until it’s beautifully aromatic.
Add Chickpeas & Season: Toss in the rinsed chickpeas along with the smoked paprika, kosher salt, and several grinds of black pepper. Cook for about two minutes, stirring occasionally. Watch as the chickpeas warm through and take on a lovely golden hue, enveloped in fragrant spices.
Serve & Enjoy: Once warm, it’s time to serve! If you’d like, squeeze a fresh lemon wedge over the top for added brightness. Enjoy them hot right from the skillet—so satisfying!
Storing & Reheating
To keep your chickpeas fresh, store any leftovers in an airtight container in the fridge for up to 3 days. If you’re planning to enjoy them later, they can also be frozen for up to 3 months in a freezer-safe container. When ready to eat, simply reheat on the stove over medium heat for about 5 minutes, stirring until warmed through. Just note the texture may slightly change, so give them a gentle stir to bring back some of that creamy goodness.
Chef’s Helpful Tips
- Avoid the common mistake of browning the garlic; it should be fragrant but not dark.
- Make sure your skillet is hot enough to sauté but not too high to burn the garlic. It should shimmer gently.
- If you want to add more texture, toss in a handful of chopped spinach or some diced bell peppers before serving.
- Experiment with spices! Add cumin, chili powder, or even curry powder for a unique twist.
- If you’re making this ahead for meal prep, keep the chickpeas separate from any fresh ingredients like greens to maintain crispness.
The beauty of these canned chickpeas lies not only in their deliciously simple preparation but also in their versatility. You can serve them as a side, mix them into salads, or enjoy them as a protein-packed snack. They are a wonderful blank canvas for flavors, waiting for your personal twist.
Recipe FAQs
Can I use dried chickpeas instead of canned?
How can I make this dish spicy?
What can I pair with canned chickpeas?
How can I store leftover chickpeas?
More Dinner Recipes
- Winter Roasted Cauliflower Salad with Grains and Spinach
- Tuna Melt
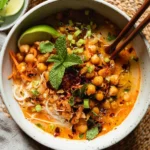
- Instant Pot Chickpea Coconut Curry
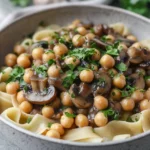
- Mushroom Marsala With Chickpeas
- Pumpkin And Quinoa Salad
👉 If you make my Canned Chickpeas recipe, please leave a comment and a star rating — it really helps others discover the recipe.
Follow me on
Pinterest
for more easy recipes.
Canned Chickpeas
- Prep Time: 2 minutes
- Cook Time: 5 minutes
- Total Time: 7 minutes
- Yield: 2 servings 1x
- Category: Dinner
- Method: Skillet
- Cuisine: Mediterranean
Description
This canned chickpeas dish bursts with flavor thanks to garlic, smoked paprika, and a drizzle of olive oil. It’s a quick and healthy meal ideal for busy weeknights or as a tasty snack. Enjoy the simplicity of this easy homemade recipe that’s ready in just minutes!
Ingredients
- 15-ounce can chickpeas
- 1 garlic clove
- 1 tablespoon olive oil
- 1/4 teaspoon smoked paprika or regular paprika
- 1/2 teaspoon kosher salt
- 1 lemon wedge, optional
Instructions
- Drain and rinse the chickpeas. Mince the garlic.
- In a large skillet, heat the olive oil over medium heat. Add the minced garlic and sauté for 1 minute until fragrant, being careful not to brown it.
- Add the chickpeas, smoked paprika, salt, and several grinds of black pepper. Cook for 2 minutes until warmed through. Serve immediately and refrigerate leftovers for 2 to 3 days.
Notes
Serve with a squeeze of lemon for extra brightness.
Great as a side dish or tossed into a salad.
Feel free to adjust the seasoning to your taste.
Nutrition
- Serving Size: 1 cup
- Calories: 220
- Sugar: 2g
- Sodium: 340mg
- Fat: 9g
- Saturated Fat: 1g
- Unsaturated Fat: 8g
- Trans Fat: 0g
- Carbohydrates: 31g
- Fiber: 8g
- Protein: 10g
- Cholesterol: 0mg