
Instant Pot Rice Pudding

Instant Pot Rice Pudding is a comforting dessert that evokes feelings of nostalgia and warmth. With its creamy texture and a sweet flavor that feels like a hug in a bowl, this delightful treat is perfect for any occasion. Whether you’re looking for a quick weeknight dessert or a special indulgence to share with friends, this recipe delivers on all fronts, transforming simple ingredients into a luxurious dish that’ll have everyone asking for seconds. Plus, making it in your Instant Pot ensures a perfectly cooked pudding every time.
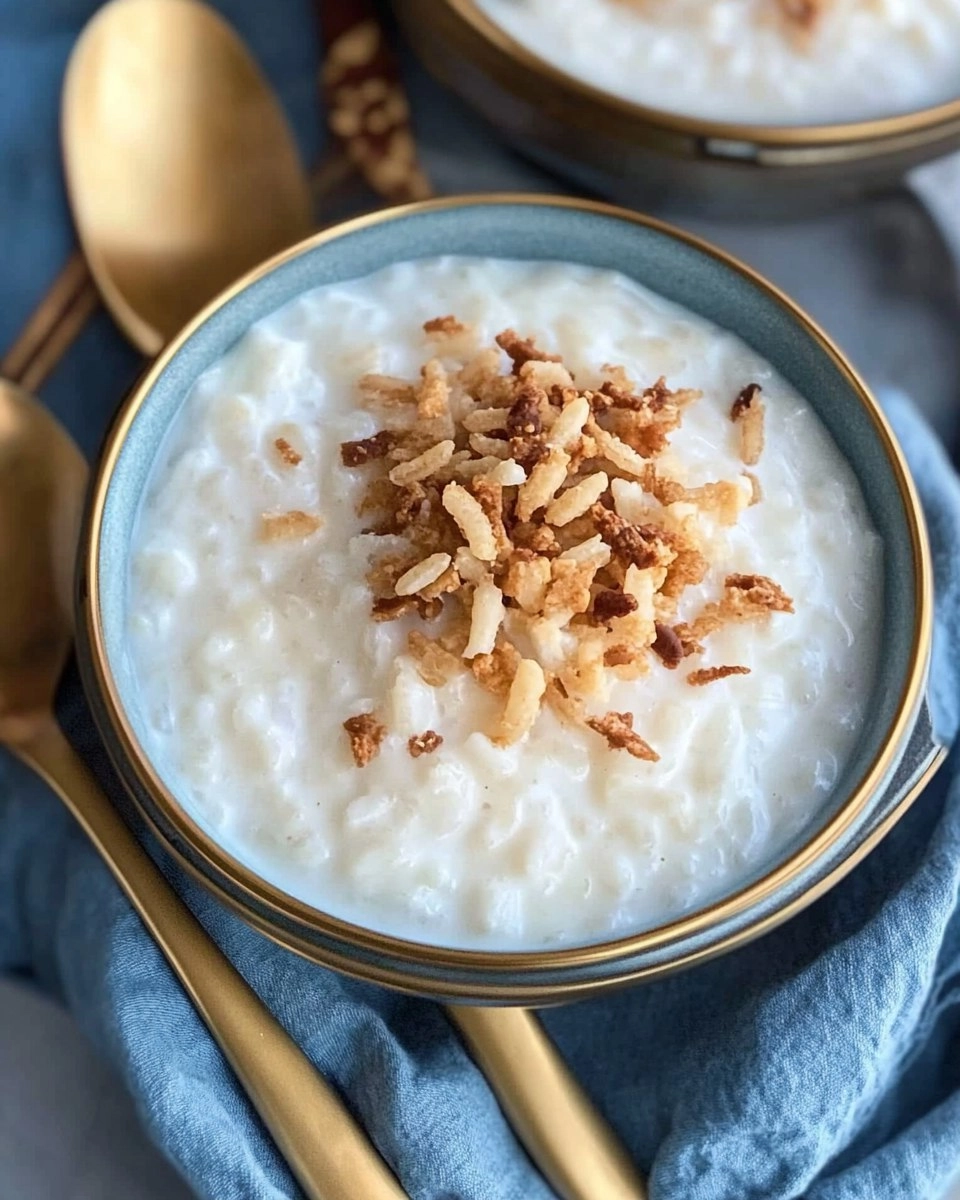
I remember the first time I made rice pudding in my Instant Pot. It was a chilly evening, and I yearned for something cozy and sweet. Browsing through my pantry, I found rice, milk, sugar, and a few cozy spices, and suddenly I was inspired. The warm, creamy bowl that resulted not only amazed me with its flavor but also revived lovely memories of my grandmother’s kitchen, where she would patiently stir her version on the stove. Trust me, Instant Pot Rice Pudding is worth the little effort it takes, and it’s bound to become a favorite in your home, too.
Table of Contents
Why You’ll Love This Recipe
- Simple & Quick: With just 5 minutes of prep and only 19 minutes of cooking, this dessert fits perfectly into a busy schedule.
- Irresistible Flavor: Imagine the creamy consistency paired with the subtle sweetness and hints of vanilla and almond—pure bliss!
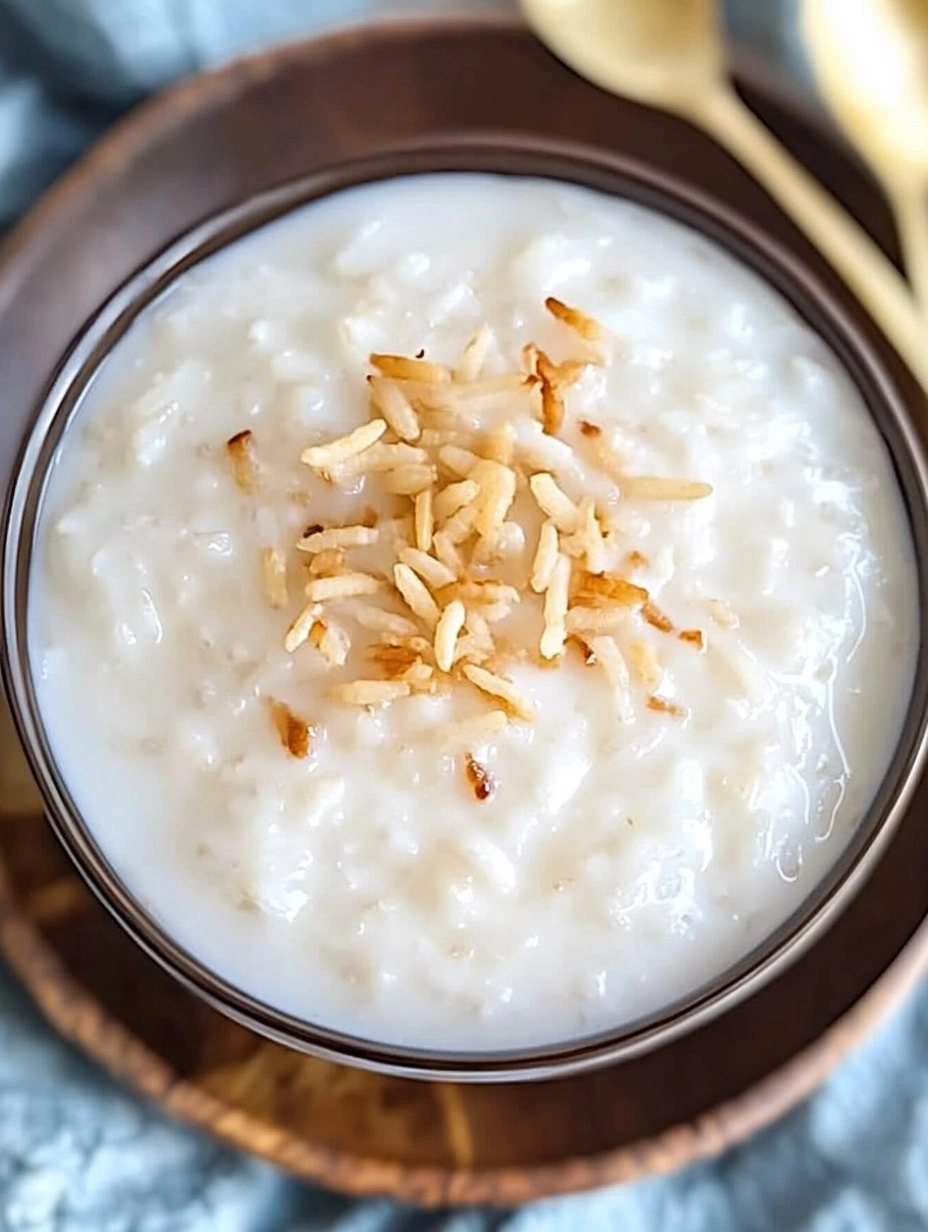
- Eye-Catching Appeal: Serve it in small bowls or cups for a charming presentation that looks as good as it tastes.
- Flexible Serving: Perfect for breakfast, dessert, or even as a snack, this rice pudding is adaptable for any time of day.
- Diet-Friendly Options: Easily adjust ingredients to cater to different dietary needs, like using almond milk for a dairy-free version or omitting the egg for a vegan twist.
Ingredients You’ll Need
- 1 cup uncooked white rice: Long-grain works best for a creamy texture without too much stickiness.
- 1/2 cup sugar: Granulated sugar sweetens the pudding while allowing the flavors to shine through.
- 1 cup water: This is crucial for cooking the rice evenly in your Instant Pot.
- 1.5 tablespoons butter: Adds richness and depth of flavor; feel free to use unsalted for more control over the sweetness.
- 2 cups milk (2% or whole): Whole milk creates a creamier pudding, but you can use lower-fat versions for a lighter option.
- 1 egg: This helps thicken the pudding and adds a silky texture. Room temperature eggs incorporate more smoothly.
- 1/4 to 1/2 cup evaporated milk: Adds creaminess—start with 1/4 cup and adjust to your preference.
- 1/2 teaspoon vanilla extract: A must for that classic comforting taste.
- 1/2 teaspoon almond extract (optional): For an extra layer of flavor that elevates the pudding.
- Pinch of nutmeg (optional): Perfectly complements the sweet notes and enhances the warmth.
- Pinch of cinnamon (optional): Classic pairing with rice pudding that adds depth and warmth.
How to Make Instant Pot Rice Pudding
Melt the Butter: Start by turning your Instant Pot onto the sauté setting. Add 1.5 tablespoons of butter and allow it to melt fully, filling your kitchen with a delicious aroma.
Coat the Rice: Stir in 1 cup of uncooked white rice, ensuring each grain gets coated with the melted butter. This step is crucial as it helps develop flavor during cooking.
Combine Ingredients: Pour in 2 cups of milk, 1 cup of water, 1/2 cup of sugar, 1/2 teaspoon of vanilla extract, a pinch of cinnamon, and the optional 1/2 teaspoon of almond extract. Stir everything well until combined—your pot will start to smell amazing!
Seal the Instant Pot: Cover the pot with the lid and remember to close the steam valve. Setting it up properly here helps everything cook evenly under pressure.
Cook the Rice: Set your Instant Pot to manual, high pressure for 14 minutes (or 12 minutes for firmer rice). While it cooks, you can relax a bit and think about how wonderful this dessert is going to be.
Release Pressure: Once the cooking time is up, perform a quick release to let out the steam safely. Carefully lift the lid away from you, as steam can be hot.
Prepare Egg Mixture: In a small bowl, whisk together 1 egg with 1/4 cup of evaporated milk. This mixture will enrich your pudding and provide that silky texture.
Temper the Egg: Take a spoonful of the warm rice mixture from the pot and stir it into your egg mixture. Add another spoonful and mix again. This process prevents the eggs from curdling when you add them back to the hot mixture.
Combine Back In: Pour the egg mixture back into the Instant Pot. Set it back to the sauté mode, allowing the mixture to warm gently until it bubbles for about 30-60 seconds. Stir slowly to prevent sticking.
Thicken the Pudding: As the mixture heats, it will begin to thicken. If you want a creamier consistency, add more evaporated milk gradually until you reach your desired texture.
Serve It Up: Once thickened to your liking, immediately pour the rice pudding into bowls or small serving cups. This step ensures it doesn’t continue cooking and become mushy.
Add Final Touches: Serve warm or chilled. Sprinkle with a bit of cinnamon or nutmeg on top for a beautiful finish that elevates the presentation.
Storing & Reheating
To store leftover pudding, let it cool to room temperature, then transfer it to an airtight container in the fridge, where it will last up to 3-4 days. For longer storage, you can freeze it for up to 3 months in a freezer-safe container. When you’re ready to enjoy it again, thaw it in the refrigerator overnight and reheat on the stovetop over low heat, adding a splash of milk to restore its creamy consistency.
Chef’s Helpful Tips
- Avoid cooking on the sauté setting for too long before sealing, as it can dry out the rice.
- Use room temperature eggs; they incorporate smoothly creating a luscious pudding.
- If you prefer lighter flavors, adjust the sugar and spices according to your preference.
- If the pudding seems too runny, continue heating on sauté mode—just stir frequently to prevent burning.
- For a delightful twist, add a handful of raisins or top with fresh fruit when serving.
- This pudding can be made ahead of time, making it ideal for gatherings or meal prep.
There’s something special about walking into a cozy kitchen filled with the warm aroma of Instant Pot Rice Pudding bubbling away, inviting everyone to savor a bowl. This creamy delight is not just a dessert; it’s a beautiful blend of flavors, memories, and love in every spoonful. Whether you choose to add spices or stick with classic flavors, the magic truly lies in the simplicity of ingredients melded together. So gather your essentials and enjoy this warm, comforting pudding tonight—you deserve it!
Recipe FAQs
Can I use brown rice instead of white rice for this recipe?
How can I make this rice pudding dairy-free?
What can I use in place of the egg?
Can I serve this pudding cold?
More Dinner Recipes
- Pan Pizza
- Bang Bang Salmon Bites
- Teriyaki Sauce
- Creamy Garlic Parmesan Pasta
- Christmas Tree Pull Apart Bread
👉 If you make my Instant Pot Rice Pudding recipe, please leave a comment and a star rating — it really helps others discover the recipe.
Follow me on
Pinterest
for more easy recipes.

Instant Pot Rice Pudding
- Prep Time: 5 minutes
- Cook Time: 19 minutes
- Total Time: 24 minutes
- Yield: 5 servings 1x
- Category: Desserts & Appetizers
- Method: Instant Pot
- Cuisine: American
Description
Savor the delightful Instant Pot Rice Pudding—this dish combines fluffy rice, creamy milk, and a touch of sweetness for an irresistible dessert. Perfect for any occasion, it’s so easy to prepare in your Instant Pot, making it a go-to comfort food for family and friends.
Ingredients
- 1 c rice, white, uncooked
- 1/2 c sugar
- 1 c water
- 1.5 tbsp butter
- 2 c milk, 2% or whole is best
- 1 egg
- 1/4-1/2 c evaporated milk
- 1/2 tsp vanilla
- 1/2 tsp almond extract, optional
- pinch nutmeg, optional
- pinch cinnamon, optional
Instructions
- Set the Instant Pot to the sauté function and melt butter.
- Add the uncooked rice, stirring to coat it in butter.
- Pour in the milk, water, vanilla, sugar, and almond extract if using; stir until well mixed.
- Close the lid and seal the steam valve.
- Set to manual mode, high pressure for 14 minutes (12 minutes for firmer rice).
- Once cooking is complete, perform a quick release and remove the lid.
- In a separate bowl, whisk together the egg and 1/4 cup of evaporated milk.
- Take a spoonful of the rice mixture and stir it into the egg to temper it, then repeat with another spoonful.
- Pour the egg mixture back into the Instant Pot and switch back to sauté mode.
- Heat until bubbling for 30-60 seconds, stirring slowly to avoid sticking, and add more evaporated milk as desired.
- Observe as it thickens to your preferred consistency and transfer to serving bowls immediately to prevent overcooking.
- Serve warm or chilled, garnished with cinnamon or nutmeg.
Notes
For a richer pudding, use more evaporated milk based on your texture preference.
Feel free to adjust sweetness according to your taste.
Nutrition
- Serving Size: 1 serving
- Calories: 200
- Sugar: 12g
- Sodium: 150mg
- Fat: 7g
- Saturated Fat: 4g
- Unsaturated Fat: 2g
- Trans Fat: 0g
- Carbohydrates: 30g
- Fiber: 0g
- Protein: 5g
- Cholesterol: 50mg