Pressure Cooker Pasta

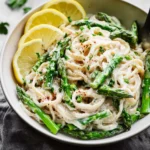
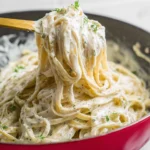
The moment you walk into a kitchen where Pressure Cooker Pasta is being prepared, your senses are instantly awakened. The tantalizing aroma of butter melting and noodles softening fills the air, promising something special. Picture steamy pasta glistening beneath a drizzle of golden butter, just waiting to be twirled around your fork. It takes me back to cozy evenings at home, where family gathered around the table, catching up over every savory bite. There’s something comforting about pasta, isn’t there? As the weather grows cooler, this dish becomes even more inviting, perfect for warming you up from the inside out.
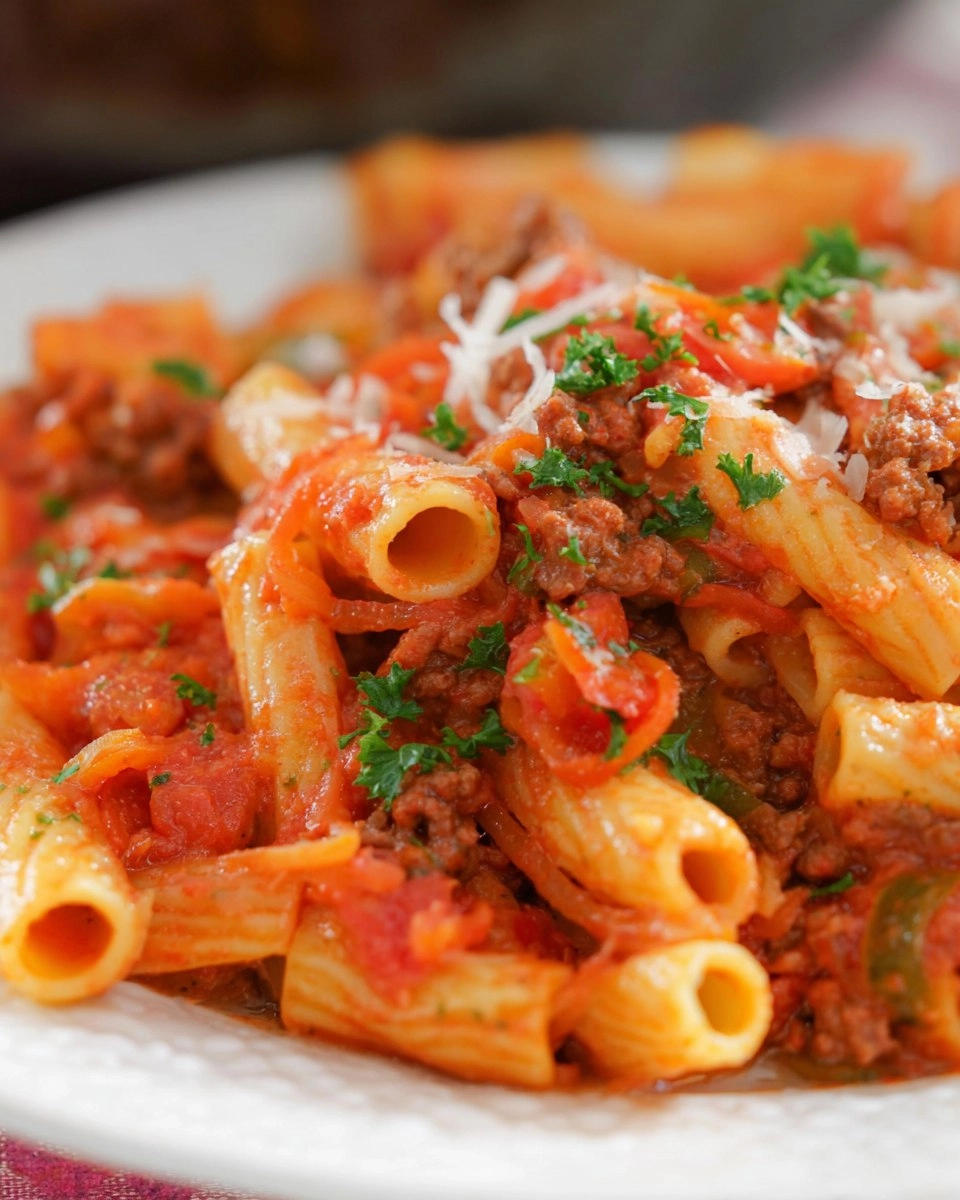
With just a few minutes and minimal effort, you can create this delightfully comforting Pressure Cooker Pasta for your loved ones. The beauty of it is not only in its simplicity but also in its ability to bring people together for unforgettable moments. So let’s get cooking, shall we?
Table of Contents
Why You’ll Love This Recipe
- Simple & Quick: Ready in just 6 minutes — 5 for prep, 1 for cooking!
- Irresistible Flavor: Buttery, rich, and oh-so-comforting at every twirl.
- Eye-Catching Appeal: Perfectly tender noodles just waiting for your favorite toppings.
- Flexible Serving: Ideal for lunch, dinner, or even a quick midnight snack.
- Diet-Friendly Options: Easily adaptable for gluten-free pasta or vegan butter.
Ingredients You’ll Need
- 4 cups chicken broth (or water): This is the base of your pasta. Using chicken broth adds a depth of flavor that water lacks. For a vegetarian twist, opt for vegetable broth!
- 2 cups noodles: Choose any shape you love! Spaghetti or penne works great. For gluten-free diets, select gluten-free pasta for the same delightful results.
- 1/4 cup butter: This adds richness and a silky texture. If you’re vegan or lactose intolerant, coconut oil or a plant-based butter can be wonderful alternatives.
- 1 pinch salt: Just a touch enhances the dish’s overall flavor, but adjust to your taste preference!
How to Make Pressure Cooker Pasta
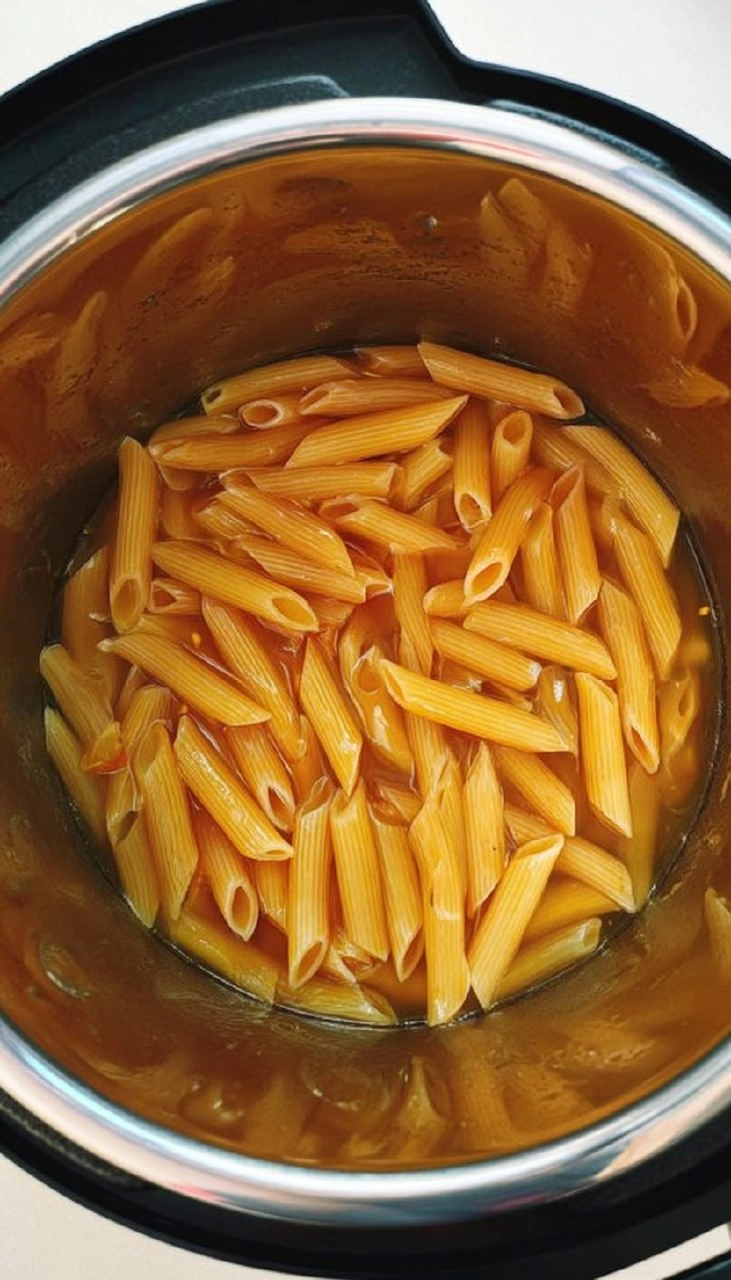
Combine Ingredients: Begin by pouring the chicken broth and pasta into your pressure cooker. Look for a nice even distribution to ensure all pasta gets that delicious flavor infusion as it cooks. This process is straightforward, and a moment of playful stirring might bring a smile to your face!
Seal and Pressure Cook: Securely seal the lid and ensure the steam valve is correctly positioned. Set your pressure cooker to high pressure and cook for 1 minute. Yes, just one minute! That’s the beauty of pressure cooking. As steam builds up, you might hear gentle hissing, which is music to any cook’s ears.
Natural Release: Once the timer goes off, allow the pressure to release naturally for 4 minutes. This gentle release helps your noodles finish cooking perfectly. After the natural release, carefully do a manual release for the remaining pressure, ensuring all steam is gone before opening.
Drain and Butter: Once your pasta is cooked and the steam has settled, drain any remaining liquid from the pasta. The aroma is heavenly! Immediately drizzle on the butter while the pasta is still warm. It coats each noodle beautifully, providing a delightful sheen. Toss to ensure every strand is enveloped in buttery goodness.
Serve with Love: For an extra touch, sprinkle freshly grated Parmesan cheese over the top. The salty, nutty flavor of Parmesan is a splendid complement to the buttery noodles. Serve it warm, and don’t forget to smile as your loved ones dig in!
Storing & Reheating
To store your leftover Pressure Cooker Pasta, let it cool slightly before transferring it to an airtight container. At room temperature, it’s best enjoyed within two hours. In the refrigerator, your pasta can last for about 3 to 5 days — just make sure you’ve got a solid seal! For longer storage, freeze it in a freezer-safe container for up to 3 months. When you’re ready to enjoy it again, simply reheat in the microwave for a few minutes at medium power, stirring occasionally, or heat it on the stovetop. It may be a bit saucy when reheated, so feel free to add a splash of broth to refresh its creamy texture.
Chef’s Helpful Tips
- Avoid Overcooking: One minute on high is crucial! If you’re tempted to cook it longer, remember that pressure cooking continues to cook even after the lid is removed.
- Precook Ingredients: For a heartier dish, consider adding cooked veggies or proteins before cooking for complete meals.
- Flavors Matter: Don’t shy away from adding spices like garlic powder or herbs for an extra flavor punch.
- Texture check: If your pasta seems mushy when you open the cooker, you’ve likely released the pressure too late or cooked it too long. Always stick to the recommended times.
Enjoying a warm bowl of Pressure Cooker Pasta brings warmth to evenings and comfort to busy days. Invite family and friends to share this dish, or keep it as your secret culinary gem. As you experiment with different flavors and add-ins, let your creativity flow!
Recipe FAQs
Can I use any type of pasta?
What if I want to add vegetables?
Is this recipe gluten-free?
Can I make this dish vegan?
More Dinner Recipes
- Creamy Scalloped Potatoes
- Old Bay Shrimp
- Cheesy Chicken Enchiladas with White Sauce
- Tofu Bibimbap
- Teriyaki Chicken Bowls
👉 If you make my Pressure Cooker Pasta recipe, please leave a comment and a star rating — it really helps others discover the recipe.
Follow me on
Pinterest
for more easy recipes.
Pressure Cooker Pasta
- Prep Time: 5 minutes
- Cook Time: 1 minute
- Total Time: 6 minutes
- Yield: 4 servings 1x
- Category: Dinner
- Method: Pressure Cooking
- Cuisine: Italian
Description
This easy Pressure Cooker Pasta features buttery, tender noodles that come together in minutes, making it a perfect choice for a quick family meal or cozy dinner.
Ingredients
- 4 cups chicken broth (or water)
- 2 cups noodles
- 1/4 cup butter
- 1 pinch salt
Instructions
- Pour chicken broth and pasta into the pressure cooker evenly.
- Seal the lid and cook on high pressure for 1 minute.
- Allow pressure to release naturally for 4 minutes before manually releasing the rest.
- Drain any remaining liquid from the pasta.
- Drizzle warm pasta with butter and toss to combine.
Notes
Store leftovers in an airtight container for 3-5 days in the fridge.
For extra flavor, consider adding spices or cooked vegetables during cooking.
Use gluten-free pasta for a gluten-free option.
Nutrition
- Serving Size: 1 bowl
- Calories: 380
- Sugar: 1g
- Sodium: 800mg
- Fat: 18g
- Saturated Fat: 10g
- Unsaturated Fat: 4g
- Trans Fat: 0g
- Carbohydrates: 48g
- Fiber: 2g
- Protein: 10g
- Cholesterol: 40mg